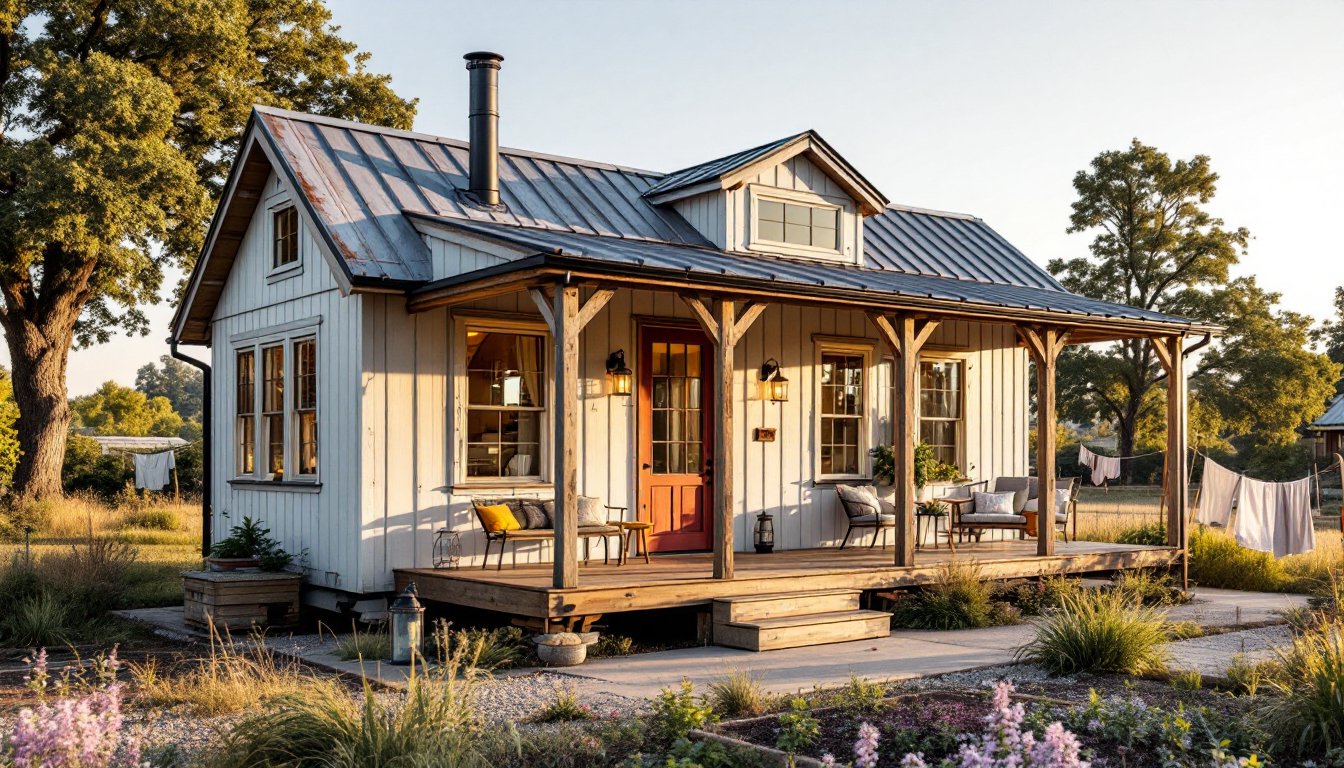
Building a home theater in Charlotte is a rewarding project that transforms how you experience movies, shows, and gaming. Whether you’re a DIY enthusiast or considering professional home theater installation, the right setup delivers cinematic sound and picture quality without leaving your living room. This guide covers everything you need to plan, choose equipment, and decide between DIY and professional installation in Charlotte’s unique climate and building environment.
Table of Contents
ToggleKey Takeaways
- Select the right room for home theater installation in Charlotte by choosing spaces like basements that block daylight and maintain proper viewing distance—typically 1.5 to 2.5 times the screen diagonal from seating.
- A quality 5.1 or 7.1 audio system with a strong center channel ($300+) is essential for clear dialogue and cinematic sound, paired with a capable AV receiver (60-100 watts minimum) and powered subwoofer.
- Manage Charlotte’s humid climate with a dehumidifier to keep relative humidity between 40–60%, protecting projectors and equipment from condensation damage that can cost thousands to repair.
- Plan all cable runs and stud locations on paper before drilling, using in-wall rated speaker cable (CL3/CL2) to meet fire codes and prevent costly mistakes that are expensive to fix after drywall is patched.
- Choose between DIY installation for simple tasks or hire a professional Charlotte installer ($1,500–$5,000) for structural work, in-wall speakers, and automation that requires expertise and precision.
- Acoustic treatment with absorption panels and bass traps transforms raw sound quality and prevents echoes and muddy bass, making the difference between an amateur setup and a polished home theater experience.
Planning Your Home Theater Setup
Choosing the Right Room and Layout
Start by selecting the right space, basements are popular in Charlotte because they naturally block daylight and offer privacy, but second bedrooms or converted closets work too. Measure your room carefully: the screen should sit 1.5 to 2.5 times the screen diagonal away from the primary seating. A 65-inch TV typically needs 8 to 13 feet of viewing distance, so map out where viewers will sit before you buy anything.
Think about room acoustics early. A perfectly square room creates standing waves (bass dead spots), so if your space is boxy, plan to add acoustic panels or bass traps later. Check for HVAC noise: air conditioning and heating ducts can ruin dialogue clarity, so consider where vents sit relative to the seating area.
Ventilation matters too, especially in Charlotte’s humid climate. Home theater equipment, projectors, receivers, amplifiers, generates heat. If you’re using a projector, ensure it has at least 12 inches of clearance around fans, and install a dedicated outlet on its own circuit to prevent voltage sag. Humidity above 60% risks condensation on cold optical surfaces, so run a small dehumidifier if your basement creeps above that threshold during summer.
Essential Equipment and Technology
Audio and Video Components
Your video chain typically flows: streaming device (Roku, Apple TV, etc.) → receiver/processor → projector or TV. For projectors, a short-throw 4K projector works well in smaller spaces and eliminates shadow casting from viewers. Standard projectors need 10+ feet from screen to lens, but short-throw models deliver a 100-inch image from just 3 to 4 feet away. Alternatively, an 85-inch or larger 4K TV is easier to set up and needs no lens calibration, though it takes more wall space.
Audio is where the magic happens. A proper theater uses a 5.1 or 7.1 surround layout: left/center/right front channels, surround speakers on side walls, and a powered subwoofer for low frequencies. Dialogue lives in the center channel, so mount it at ear level (roughly 24 to 36 inches above the screen if wall-mounting). Don’t skimp here, a $300 center speaker makes dialogue crystal clear, while a $100 one sounds like actors are gargling.
Your AV receiver is the brain. It needs enough power (60-100 watts per channel minimum for a small room), HDMI 2.1 inputs for 4K 120Hz gaming, and Dolby Atmos support if you want overhead speakers. Wiring runs: use 14 AWG or heavier speaker cable from receiver to speakers (thinner wire loses volume over distance), shielded RG-6 coax for video, and quality HDMI cables rated for 8K to future-proof. Most home theater costs run $2,000 to $5,000 for entry-level setups and balloon quickly if you add projectors or high-end speakers, home theater installation costs vary widely by equipment and labor.
DIY vs. Professional Installation in Charlotte
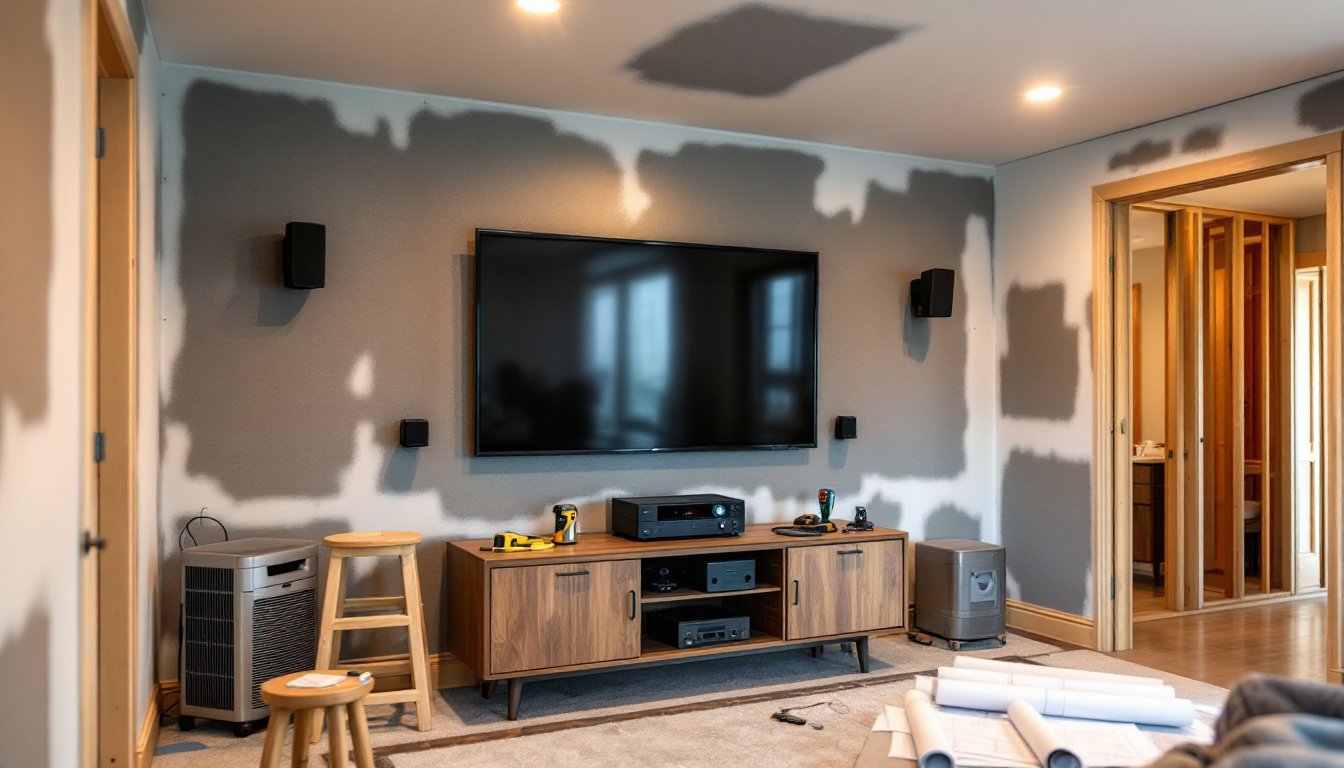
DIY installation saves money but demands patience, cable management skills, and honest self-assessment. If you’re comfortable running cable through walls, patching drywall, and programming a receiver via HDMI-CEC handshakes, you can handle most projects. The real challenge isn’t plugging in gear, it’s hiding cables cleanly and acoustically treating a room without it looking like a soundproof bunker.
Professional installers in Charlotte handle wall-running, in-wall speaker installation (which requires cutting studs and patching), acoustic calibration, and programming automation (think: one button turns on projector, lowers lights, and unmutes the system). If your walls are plaster instead of drywall, or if you want the projector integrated into the ceiling on a motorized mount, hire a pro, DIY mistakes here cost more to fix than the install itself.
The hybrid approach works well: DIY simple jobs (mounting a TV, running surface-mounted conduit), outsource structural work (running cables through finished walls, installing in-wall speakers). Charlotte has reputable theater installers: ask for references and expect to pay $1,500 to $5,000 for labor depending on complexity. Professional teams also handle your home’s electrical load, if your breaker panel can’t handle added equipment, they’ll advise before work starts.
Before deciding, consider your skill level honestly. Can you use a stud finder, drywall saw, and fish tape? Are you comfortable drilling precision holes? If you’re hesitating, call a pro.
Installation Best Practices and Common Mistakes
Prep work is 80% of success. Before you drill, map every cable run on paper, mark stud locations, outlet positions, and HVAC ducts. Use a stud finder and mark studs with painter’s tape: running cable between studs at 16-inch centers prevents hitting them mid-cut. For in-wall speaker wiring, use in-wall rated speaker cable (marked CL3 or CL2) to meet NEC fire codes, regular speaker wire can smolder in wall cavities.
Measure twice, drill once. If running cable horizontally across studs, use a right-angle drill bit and slow speed: fast spins melt plastic sheathing. Drop ceiling? Great for hiding cable, but confirm it’s load-bearing before running heavy equipment. For drywall patching, use lightweight joint compound and sand smooth, rough patches look amateurish and can damage cables if they shift.
Sound treatment often gets skipped until after listening reveals echoes and muddy bass. Absorption panels behind surround speakers and in room corners tame reflections without very costly. Fiberglass insulation wrapped in fabric ($30–60 per panel) beats designer panels for most budgets. A single thick bass trap in the corner opposite the subwoofer helps flatten low-frequency response in a small room.
Common mistakes: routing cable next to electrical lines (causes hum), mounting the center speaker too high (dialogue rises unnaturally), and skipping HDMI handshake setup (black screens with new sources). Test everything before patching drywall. Wear safety glasses when drilling overhead, dust masks when patching drywall, and hearing protection if using a circular saw, those 100+ dB whines cause real damage.
Climate control in Charlotte’s humidity is critical. Install your equipment in a room that stays 40–60% relative humidity year-round. A projector sucking humid air through its optical path will fog the lens in seconds. If your theater is a basement, add a small dehumidifier ($200–400) and monitor it during summer, it’s cheaper than replacing a $2,000 projector.
Conclusion
A home theater in Charlotte turns your spare room into a retreat where you control picture and sound. Success comes from planning the layout, choosing equipment that matches your room and budget, honestly assessing your DIY skills, and sweating the prep details. Whether you wire it yourself or hire a pro, take time to acoustically treat the space and manage cables cleanly, that difference between amateur and polished is worth the effort.